Configuring taxes for your CRE Loaded store
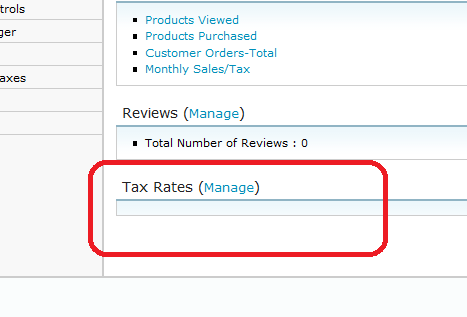
Log into your admin home index page, and on the bottom left you will see the "Tax Rates Block". If your taxes are not working, they may not be set up correctly. If you see the block displayed as the example below, then they are not configured properly.
The following steps will outline each item that needs configured to set them up, we are using Pennsylvania as an example.
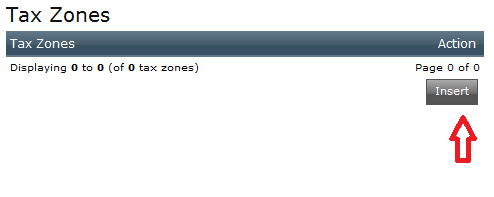
1) Goto Locations/Taxes and click the "Tax Zones" menu item. On the next page click the insert button, see image below.
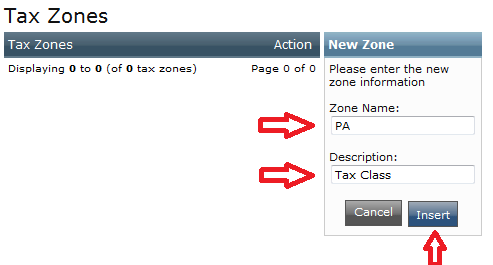
2) After clicking insert, on the next page define the Zone Name, and the Description, then click insert, see image below.
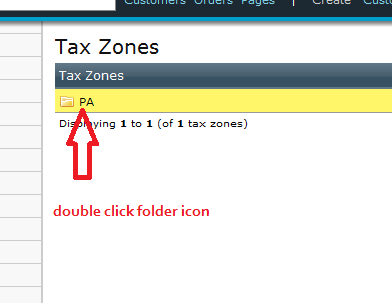
3) After that is defined, on the next screen "double click" the folder icon, so you can define the country and the state for this zone, see image below.
4) On the next screen, click the insert button to define a country. Define the country from the drop down, then the zone state, then insert, see image below.

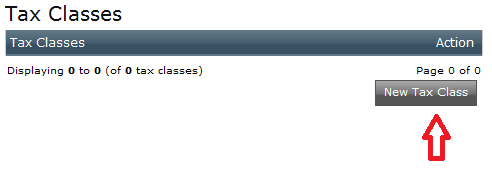
5) Next, from the left menu, select "Tax Classes", so you can define a tax class to be used with the above state, click "New Tax Class" as seen in image below.
6) Now define the tax class title and the description, see image below.

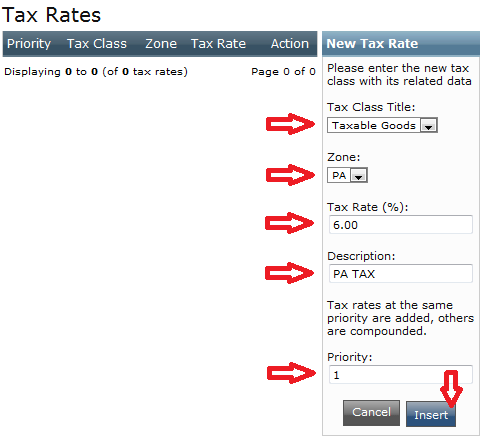
7) Next, from the left menu, select "Tax Rates" and click the "New Tax Rate" button as seen in image below.

8) Next, define the "Tax Class Title", "Zone", then "Tax Rate (%)" then the "Description" and "Priority", see image below.
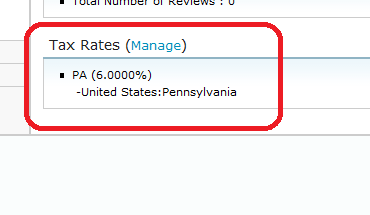
9) After all of the above is completed, the taxes are now defined for Pennsylvania and on the home admin index you will see the "Tax Rates Block" with the correct taxes set up as seen in example below.
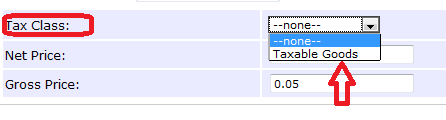
10) Lastly, to assign a product to that tax class, so it would charge taxes on checkout, when creating a product select from the tax class, choose the "Taxable Goods" to assign that product to that tax class as seen in the example below.
Information
Articles
